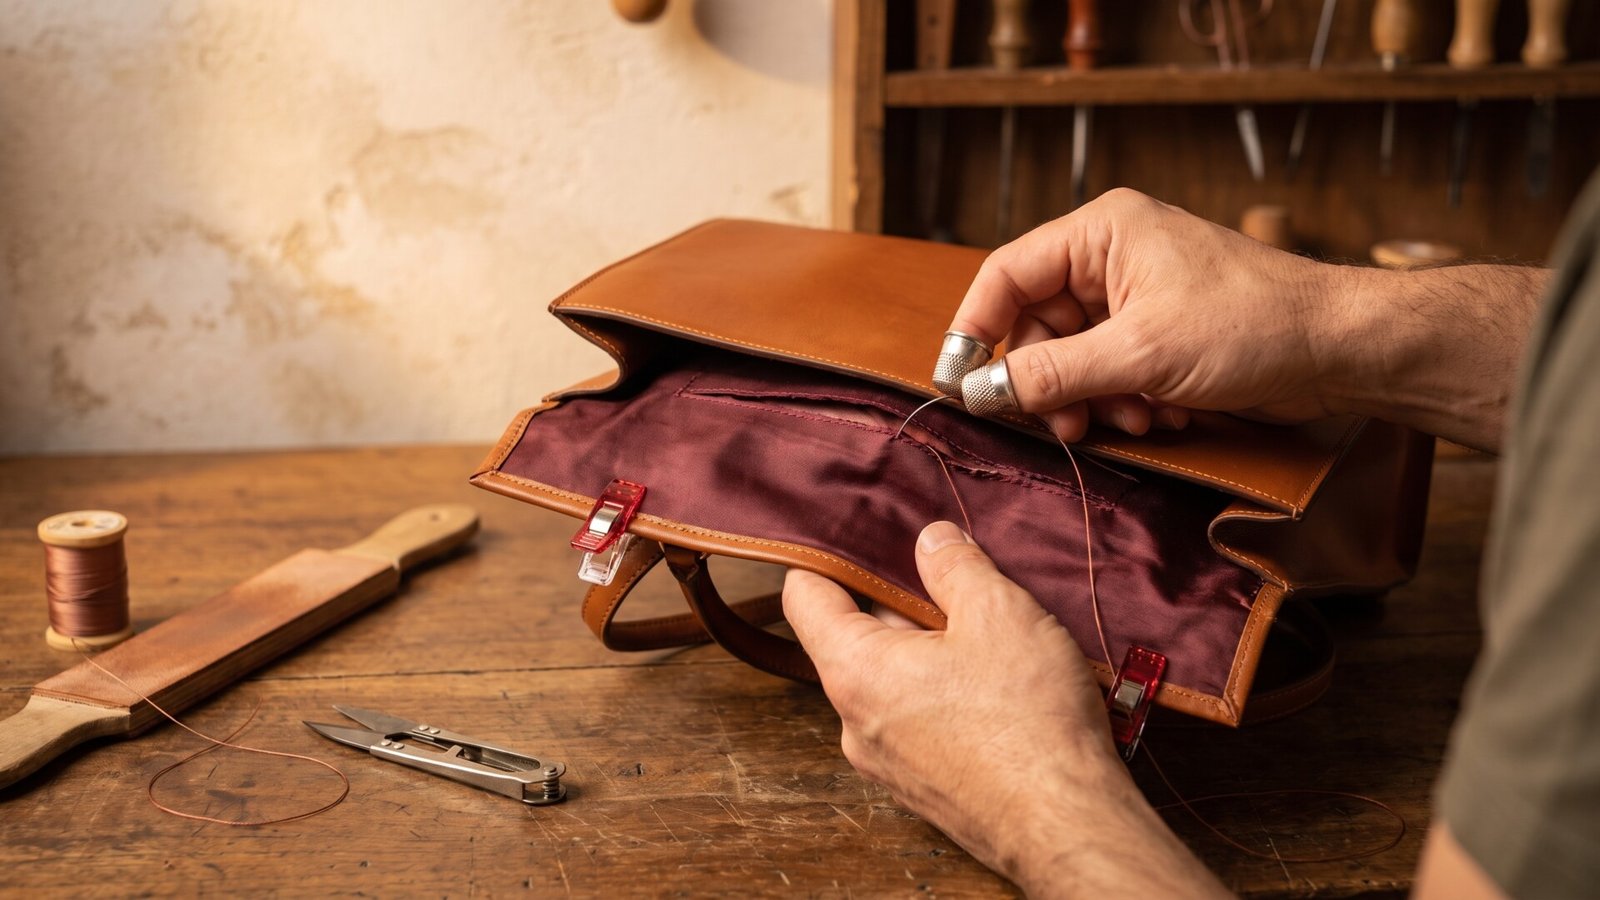
Can you repair a ripped lining in a designer bag?
For years, I treated the interior of my designer bags like an afterthought. I was obsessed with the exterior leather—the glazing, the stitching, the hardware. The lining was just… there. A functional afterthought. Then, one afternoon, I reached into my favorite tote for my phone and felt my keys snag. I pulled them out to find a six-inch gash in the silk lining. My heart sank. It wasn’t just a rip; it was a betrayal. That bag, which I had babied and protected from rain and sun, was compromised from the inside out.
I used to think that a ripped lining meant the end of the road, or at the very least, a several-hundred-dollar trip to a specialist that would take months. But then I learned the truth: a ripped lining is often the most fixable problem a designer bag can have. It’s a repair, not a death sentence. Let me save you the years of trial and error I went through. This guide will walk you through everything you need to know about repairing a ripped lining—from assessing the damage to deciding between a professional and a DIY fix, and understanding exactly how it impacts your bag’s value.
Here’s the thing: the lining is the unsung hero of your handbag. It protects your belongings, holds the structure, and often carries the brand’s most recognizable signature—think of the classic Louis Vuitton canvas or the supple suede of a Bottega Veneta. When it tears, it’s not just an aesthetic issue. It’s a structural one. Let me tell you why this matters more than you think.
Understanding the Importance of a Bag’s Lining
We often talk about the “drop” of a bag, the patina of the leather, the shine of the hardware. But the lining? It’s the foundation. It’s what keeps your keys from scratching the leather, what holds the shape of the bag when it’s standing empty, and what separates your lipstick from your wallet in a civilized way.
A damaged lining can affect the overall value and usability of the bag in ways you might not expect. Think about it from a buyer’s perspective. If you were purchasing a pre-owned Chanel Flap, would you accept a torn interior? Probably not, or not without a significant discount. The lining is a key indicator of how well a bag has been cared for. A pristine interior suggests a meticulous owner; a ripped one suggests neglect, even if the exterior is flawless.
There’s also a psychological aspect to this that I’ve come to appreciate. Owning a luxury item is about more than just the object itself; it’s about the pride of ownership. When my bag’s lining ripped, I felt a little less proud to carry it. I was constantly aware of the hidden flaw. It’s like having a stain on your favorite shirt—even if no one else sees it, you know it’s there, and it diminishes your enjoyment. Repairing the lining isn’t just about fixing a physical tear; it’s about restoring that sense of integrity and pride in your investment.
Assessing the Damage
Before you panic or reach for the glue, you need to become a detective. The first step is to assess the damage with a critical eye. Not all rips are created equal, and the repair method depends entirely on what you’re dealing with.
Empty the bag completely. Turn it inside out if you can, or at least use a flashlight to get a good look at the interior seams and corners. Here’s what you’re looking for:
- The Seam Separation: Is the lining torn along a seam, or is the fabric itself ripped? A seam that has come apart is often easier to fix than a tear in the middle of a panel. It’s just a matter of re-stitching.
- The Tear Location: Is it on the bottom of the bag where weight and pressure are concentrated? Is it at the top near the zipper? Or is it on a side panel? The location can affect the stress the repair will be under.
- The Tear Type: Is it a clean, straight tear, or is it a jagged, frayed hole? A clean tear is a better candidate for a simple repair. A frayed hole might need a patch or a full replacement.
- The Material: This is crucial. What is the lining made of? Common materials include:
- Silk: Luxurious but delicate. It frays easily and can be tricky to sew without causing new pulls.
- Cotton: More durable and forgiving. Often used in canvas or twill weaves.
- Leather/Suede: Found in high-end bags. This is the most difficult to repair and almost always requires a professional.
- Synthetic Fabrics (Polyester, Nylon): Durable and often used in more casual or sporty bags. They can sometimes be fused with heat or glued.
Here’s a question to ask yourself: Is the lining simply torn, or is it degrading? If the fabric is turning sticky, crumbling, or disintegrating (a common issue with some polyurethane-coated fabrics from the 2000s), then a simple repair is not an option. You’re looking at a full lining replacement. But if it’s just a rip, you have options.
Professional Repair Options
When it comes to luxury goods, I’ve learned that sometimes the smartest money you can spend is on a professional. A skilled artisan has the tools, the materials, and the expertise to make a repair that is practically invisible. For a ripped lining, this is often the best route, especially if the bag is a high-value investment piece.
Let me tell you about the benefits. A professional can source a lining that is an exact match for your bag’s original fabric. They have industrial sewing machines that can handle thick leathers and multiple layers. They know how to disassemble the bag, replace the lining, and reassemble it so that the structure and shape are preserved. This is not a simple task. For many bags, replacing the lining requires removing the hardware and the exterior leather panels first. It’s a delicate surgery.
Here are a few services that have established reputations in the world of luxury bag repair:
- The Handbag Spa: They are known for their comprehensive services, from cleaning and conditioning to color restoration and structural repairs. They are a good option for a full-service experience.
- Leather Surgeons: They are a benchmark in the industry, known for high-quality repairs on luxury handbags. They are often the go-to for high-end brands and have a reputation for meticulous craftsmanship.
The cost is the big variable here. A simple re-stitching of a seam might cost around $50 to $100. But a full lining replacement on a structured bag like a Birkin or a Lady Dior can range from $300 to over $600, depending on the brand, the materials, and the complexity of the bag’s construction. The turnaround time can also be significant—anywhere from a few weeks to a couple of months. It requires patience. But here’s what I’ve learned: a professional repair protects your investment. It maintains the integrity of the bag and, as we’ll discuss later, has a positive impact on its resale value.
DIY Repair Techniques
Now, for the brave souls among us, there is the DIY route. I’m not going to lie and tell you it’s easy, but for minor rips, it can be done successfully. I remember the first time I tried to repair a small tear in a cotton-lined tote. I was terrified. But with the right tools and a steady hand, I managed to make it look almost new.
This is where you can save a lot of money, but you have to be honest about your skills. If you’ve never sewn a button on a shirt, you might want to skip this section and go back to the professionals. But if you’re handy with a needle, here’s a step-by-step guide for a minor repair.
First, gather your materials. You’ll need:
- Fabric glue: A good quality, flexible fabric glue is essential for fusing edges and preventing fraying.
- A sewing kit: You’ll want needles, thread in a matching color, and a thimble.
- Patching fabric: If the tear is larger than a simple seam, you’ll need a piece of fabric to reinforce the area. This is where your material-matching skills come in.
Here are the steps:
- Turn the bag inside out. This gives you access to the back of the lining. If you can’t turn it inside out, you’ll need to work very carefully from the inside.
- Clean the area. Use a lint roller or a soft cloth to remove any dust or debris from around the tear.
- Stabilize the edges. Apply a thin layer of fabric glue to the edges of the tear. This will prevent the fabric from fraying further while you work. Let it dry completely.
- Reinforce the seam (if needed). If the tear is along a seam, you can use a simple running stitch to re-join the two pieces of fabric. If the fabric is thin or fragile, you might want to place a small piece of patching fabric on the inside of the tear before you sew. This creates a stronger base.
- Sew the tear. Use a needle and thread to sew the tear closed. A simple ladder stitch or a whip stitch works well. Take your time and make your stitches small and even.
- Fuse the patch (for larger tears). If you have a hole, cut a patch of fabric that is at least an inch larger than the tear on all sides. Place the patch over the back of the tear and glue it in place. You can also sew around the edges of the patch for extra security.
- Let it dry. Once you’re done, let the glue dry completely before turning the bag right side out.
The key to a successful DIY repair is matching the fabric and color as closely as possible. If you can’t find a perfect match, you can often use a piece of fabric from an inside pocket or an unused part of the bag itself. This is the best way to ensure a seamless repair. It’s a bit of a hidden trick that professionals use.
Considerations Before Attempting DIY Repairs
I’m going to be the voice of reason here. Before you decide to go the DIY route, you need to understand the risks. I’ve seen DIY repairs go horribly wrong. I once saw a woman try to fix a torn lining with super glue. The glue bled through the fabric, creating a hard, crusty mess that was worse than the original rip. It also damaged the leather it came into contact with. It was a disaster.
The biggest risk is the possibility of further damaging the bag. A wrong stitch can create new pulls in the fabric. An aggressive glue can stain or stiffen the material. And if you aren’t careful with the structure, you could end up with a bag that is misshapen or has a compromised interior.
The second major consideration is the implications for resale value. This is a money article, after all. A professional repair is a neutral or even positive factor in a resale listing. You can say, “The lining was professionally replaced,” and it shows that you invested in the bag’s care. A poor DIY repair, on the other hand, is a red flag. It suggests that the bag might have other hidden issues, and it will likely devalue the bag significantly. A buyer will see a lumpy, messy stitch job and immediately think, “What else did they try to fix?”
My advice is to assess your personal skill level and comfort with DIY repairs honestly. If you’re a confident sewer and the damage is minor, go for it. But if you have any doubts, or if the bag is a high-value investment piece, the risk is simply not worth it. The cost of a professional repair is an insurance policy for your bag’s value.
Comparing Repair Options
To help you make the right decision, let me lay out the pros and cons side-by-side. This is the kind of comparison I wish I had when I was staring at my own ripped lining.
| Feature | Professional Repair | DIY Repair |
|---|---|---|
| Cost | High ($50 – $600+) | Low ($10 – $50 for materials) |
| Time Required | Variable (2 weeks to 2 months) | Variable (1-3 hours) |
| Expertise Needed | Professional artisan | Basic sewing skills |
| Impact on Resale Value | Positive (shows care) | Variable (can be negative if poor) |
| Risk of Further Damage | Low | High |
| Outcome Quality | Near-invisible, durable | Visible, may be less durable |
| Best For | High-value bags, complex tears, full replacements | Minor tears, casual bags, quick fixes |
As you can see, the choice really comes down to the value of the bag and your own skill. For a $50 bag that you love, a DIY fix is a no-brainer. For a $2,000 bag, the professional route is almost always the smarter financial decision.
Insurance and Warranty Considerations
This is a topic that often gets overlooked, and I want to change that. When you buy a designer bag, you rarely think about insurance or warranties. But they can be a lifesaver.
First, let’s talk about warranties. Designer handbags typically come with a warranty that covers manufacturing defects—like a seam that comes apart on its own or a faulty zipper. However, a ripped lining caused by wear and tear or an accident (like snagging it on a sharp object) is almost never covered. The warranty is for defects, not for damage. So don’t expect your bag’s brand to fix a tear for free.
This is where insurance comes in. If you own high-value items, adding them to your homeowner’s or renter’s insurance policy as a scheduled personal property rider is a smart move. This can protect you against loss, theft, and even accidental damage. Some policies will cover the cost of repairs, including lining replacement.
There are also specialized luxury insurance providers that offer standalone policies for your high-value items. These can be a great option if you have a substantial collection. I’ve looked into a few myself:
- Haven Life: While primarily known for life insurance, they have offerings that can be structured to include coverage for personal property, though it’s not their main focus.
- Chubb: They are a major player in the high-net-worth insurance space. Their personal property insurance is known for being comprehensive and covering high-value items like designer handbags without a lot of hassle.
The peace of mind that comes from knowing your bag is insured is significant. It means that if the worst happens, you’re not out thousands of dollars. And if a repair is needed, the insurance can cover the cost. It’s a proactive approach to protecting your investment that many people don’t consider until it’s too late.
Conclusion
That ripped lining in my favorite tote felt like a tragedy at the time. But it taught me a valuable lesson about the hidden world inside my bags. The lining is not just a detail; it’s an integral part of the bag’s structure, its value, and its soul. A tear doesn’t have to be the end. It’s a decision point.
You can choose to invest in a professional repair, which protects your investment and restores the bag to its former glory. Or, if you’re skilled and the damage is minor, you can take the DIY path and save some money. The key is to make an informed decision, weighing the costs, the risks, and the long-term value.
The secret at the heart of bag maintenance is that it’s a form of respect. It’s respecting the craftsmanship, the materials, and the money you invested. A well-maintained bag, inside and out, is a joy to carry. It tells a story of care and appreciation. And when you take care of it, it returns the favor for years to come.
I learned this too late for my first bag. I hope you learn it in time for yours.
If you’re looking for more ways to protect your luxury investments, [Internal: explore our guide to bag care and maintenance]. And for a deeper dive into which bags hold their value best, [Internal: check out our investment handbag hub].
[Shop Collection]
Frequently Asked Questions About Repairing a Ripped Liningu00a0in a Designer Bag?
Can I repair a lining myself?
Yes, but the complexity depends on the damage and your sewing skills. Minor rips along a seam can be fixed with a needle and thread. Larger holes or tears in delicate fabrics like silk are best left to a professional.
How much does it cost to repair a designer bag lining?
Professional repairs can vary widely, typically ranging from $50 for a simple re-stitch to several hundred dollars for a full lining replacement. The cost depends on the brand, the bag’s construction, and the materials used.
Will a repair affect the bag's value?
A professional repair can enhance or maintain the bag’s value, as it shows you’ve invested in its care. Conversely, a poor DIY repair may detract from it. A sloppy stitch job is a red flag for potential buyers.
How can I prevent future damage to my bag's lining?
Regular maintenance, careful storage, and avoiding overstuffing can help preserve the lining. Keep sharp objects in a separate pouch, and store your bag with tissue paper to help it hold its shape.
What materials are best for lining repairs?
Matching the original material is ideal. If that’s not possible, durable fabric options like cotton or synthetic blends work well. For a seamless look, try to source a piece of fabric from an inside pocket of the same bag.
Should I insure my designer bag?
If you own high-value items, insurance can provide peace of mind against loss or damage. Adding your bag to a personal property rider or getting a standalone policy from a provider like Chubb can protect your investment.