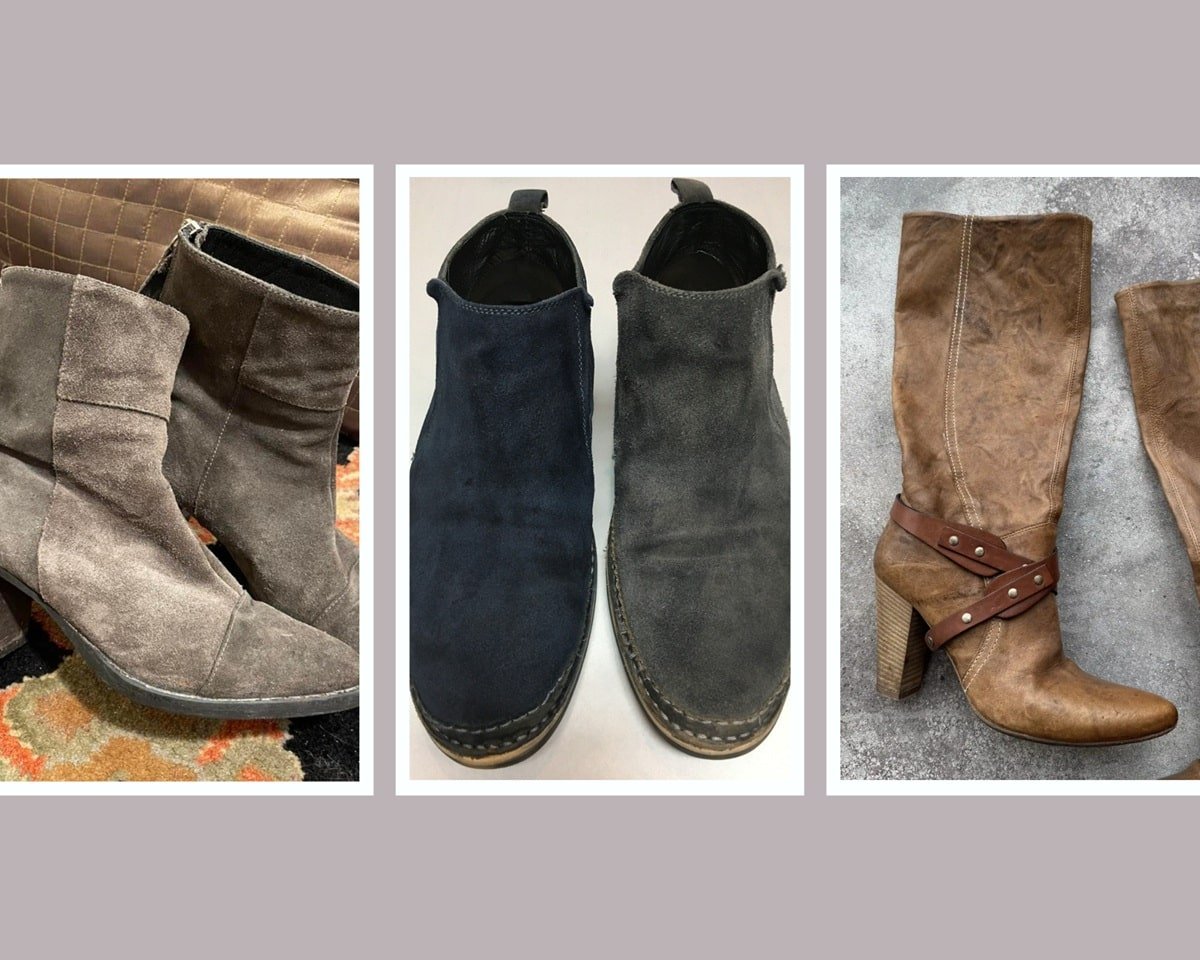
How to Restore Color to Faded Suede Italian Boots
When Suede Loses Its Soul
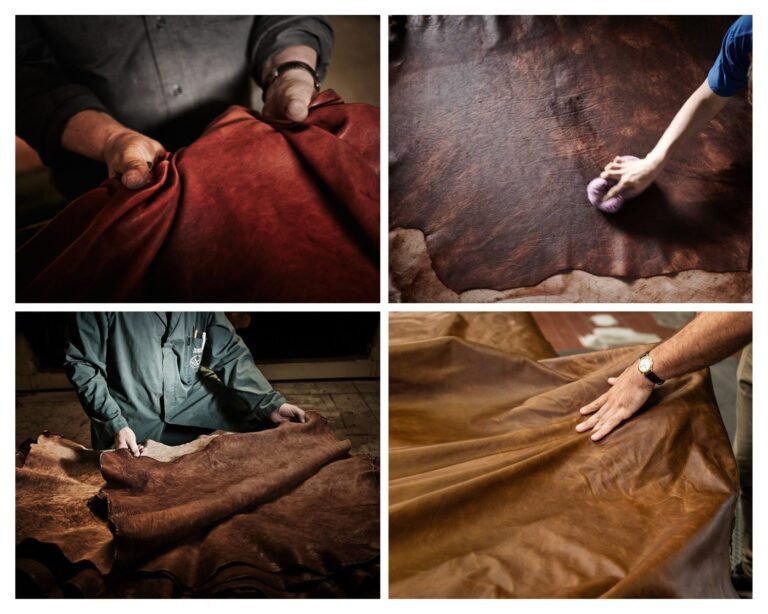
Italian suede boots have a vibe that’s hard to replicate — soft, matte, luxurious, romantic, a little dramatic. Whether you’re talking Mastrotto suede, premium calf split suede, or those buttery-textured artisanal pairs you only find in boutiques, suede has a texture that instantly elevates an outfit. But unlike smooth leather, suede fades easily. Sun exposure, moisture, brushing, dust, and everyday wear all slowly drain the richness out of the color.
The good news? Suede is one of the most restorable materials in the entire footwear world. When it fades, that isn’t the leather dying — it’s the fibers flattening, drying, or collecting microscopic dust that dulls the tone. Color revival is totally doable at home if you do it right.
This guide breaks down how to safely restore color to your faded Italian suede boots without messing with the nap or darkening them permanently. Whether your boots are tan, mocha, navy, black, olive, or that iconic Italian tobacco brown, the process works the same.
Step One: Understand Why Suede Fades
Italian suede has a delicate nap — the soft raised fibers that give it its signature velvet look. That nap is also the reason suede fades faster than smooth leather. Most color loss comes from:
- UV exposure (sunlight lightens the fibers)
- Dirt and dust embedded in the nap
- Oils from hands, pants, or waterproofing sprays
- Flattened nap from pressure or moisture
- Improper cleaning from the past
Before applying color or products, you must bring the nap back to life so the suede can hold pigment again.
Step Two: What You’ll Need
To restore suede properly, keep the tools minimal but high quality.
- Suede brush (crepe brush or brass/nylon combo)
- Suede eraser
- Suede cleaner or foam cleaner
- Suede dye or color reviver spray (same color as the boot)
- Microfiber cloth
- Masking tape (optional but recommended)
- Paper or shoe trees to hold the shape
- A dry, ventilated workspace — not humid, not sunny
You absolutely do NOT want to use:
- leather creams
- wax polishes
- oils
- waterproofing spray before recoloring
- household cleaners
- hair dye (yes, people try this)
Suede is finicky, so stick to suede-specific products.
Step Three: Clean Before Coloring (This Is Non-Negotiable)
1. Brush the boots
Use a suede brush to lift the nap and remove surface dirt.
Always brush in one direction first, then gently cross-brush to raise the fibers evenly.
2. Remove deeper marks
Use a suede eraser for scuffs, shiny spots, or embedded dirt.
Rub gently until the area looks matte and uniform.
3. Use a suede cleaner
Apply a suede foam or water-based cleaner with a gentle dabbing motion.
Avoid soaking the suede — moisture can stain or stiffen it.
Let the boots dry naturally for 24 hours. Not outside. Not near heat.
Just a quiet corner.
Once dry, brush again to restore the texture.
Now the nap is ready to accept color.
Step Four: Choose the Right Color Revival Method
There are two main ways to restore color:
Option 1: Suede Color Reviver (Spray or Sponge Applicator)
This is the safest, easiest option.
It doesn’t dramatically change the color — it revives what’s already there.
Great for tan, brown, black, navy, and grey suede.
Option 2: Suede Dye (More Intense, More Permanent)
Use this if the boots are severely faded or you want a richer, deeper tone.
Dye penetrates the fibers more but also darkens the suede slightly.
Choose this only when the fading is significant.
Whichever product you pick, match the color as closely as possible or go one shade darker.
Step Five: Apply the Color (The Make-or-Break Part)
1. Stuff the boots
Use shoe trees or paper to retain the shape.
2. Mask off non-suede areas
Use masking tape to protect leather trims, zippers, midsoles, or stitching.
3. Apply color slowly and lightly
Whether using spray or dye:
- Work from about 6–8 inches away
- Apply in even, light passes
- Never saturate the suede
- Let each layer dry before adding another
Multiple thin coats always produce better results than one heavy coat.
4. Let the boots dry naturally
Again — no sun, no heat.
Give them at least a few hours, ideally overnight.
Step Six: Restore the Nap After Coloring
Coloring suede often flattens the fibers temporarily.
Once dry:
- Brush the boots gently with a suede brush
- Lift the fibers to reveal the even, velvety surface
- Brush in multiple directions but keep it soft
This is the step that transforms them from “freshly dyed” to “brand new.”
Step Seven: Apply a Suede Protector
Once the color is fully restored and the nap is lifted, protect the boots.
Use a suede-specific protector spray to shield against:
- rain
- dirt
- stains
- sun fading
Spray lightly from a distance. Let dry.
This keeps that revived color vibrant for much longer.
Step Eight: When to Avoid DIY and Let a Pro Do It
Certain situations make DIY risky:
- High-end Italian artisanal suede (Guidi, Marsèll, Diemme, Officine Creative)
- Suede that’s extremely thin or goat suede
- Boots with intricate detailing
- Severe dye bleeding
- Mixed materials like suede + untreated vachetta leather
Professional cobblers have airbrush tools, suede refinishing liquids, and dyes matched to exact Pantone tones. If your suede is expensive or rare, the investment is worth it.
Additional Tips for Long-Term Color Preservation
Once your Italian suede boots look revived, keep them that way:
- Store them away from sunlight
- Use shoe trees to prevent creasing and crushing the nap
- Brush them lightly every few wears
- Spot-clean stains immediately
- Reapply protector spray monthly during heavy wear seasons
- Rotate footwear to avoid wearing suede on wet days
Good suede ages beautifully when treated right.
Why Italian Suede Is Worth the Effort
Italian suede isn’t just another material. It’s craftsmanship — the kind of leather that has soul. It moves softly, ages with character, and brings richness to your wardrobe. Even when faded, suede is incredibly revivable. With the right tools and patience, you can bring back its original depth, texture, and elegance.
Restoring suede isn’t just a repair.
It’s care.
It’s preservation.
It’s keeping beautiful things beautiful.